-
Joignez notre équipe
Contact -
Votre panier (0 articles)
$0,00- Cart Subtotal $0.00
- Go to Cart Checkout
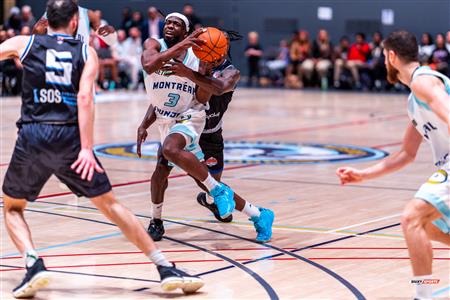
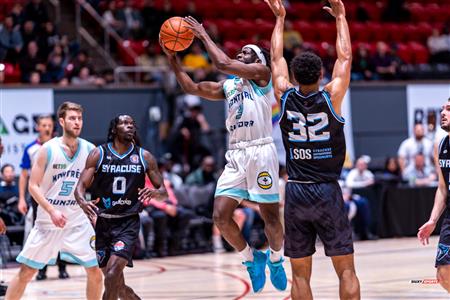
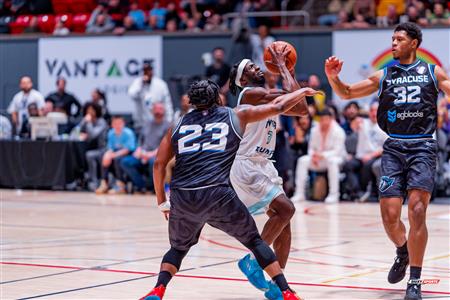
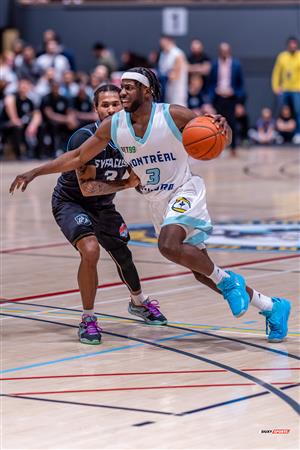
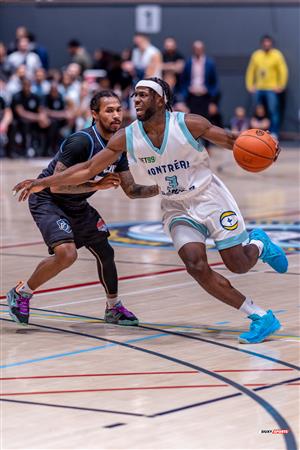
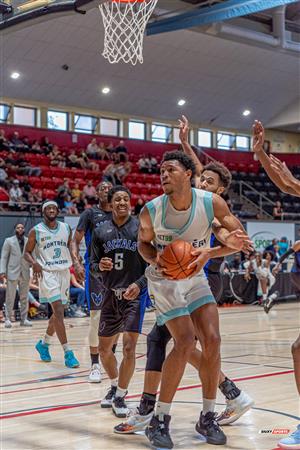
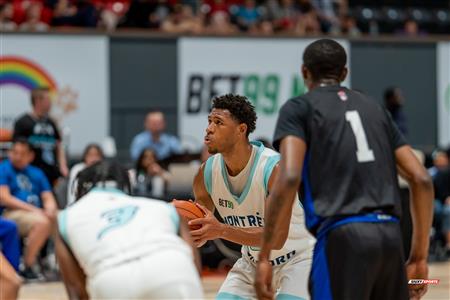
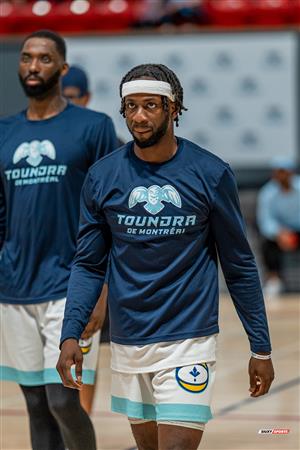
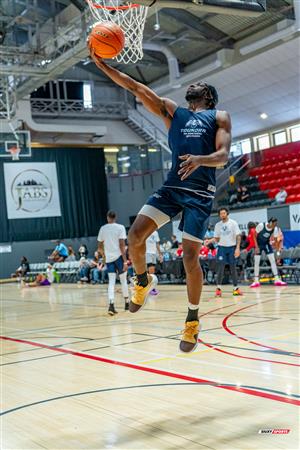
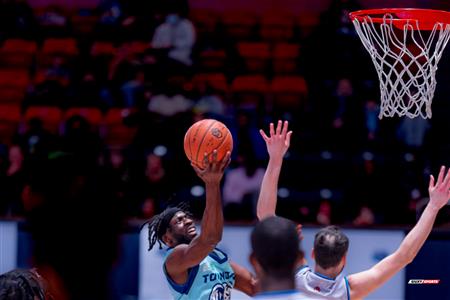
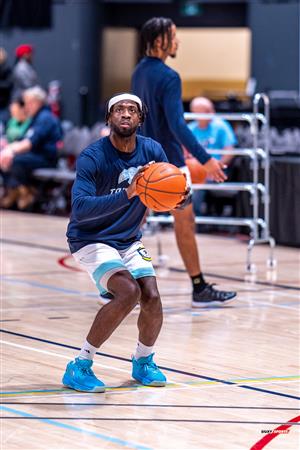
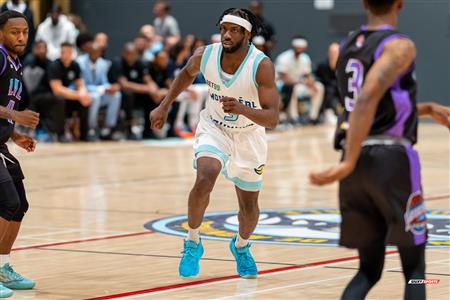
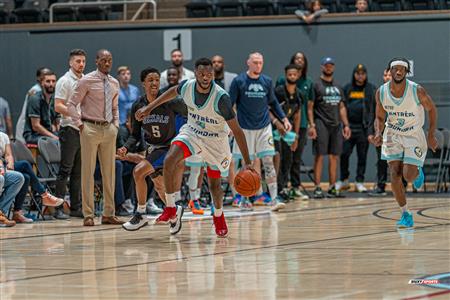
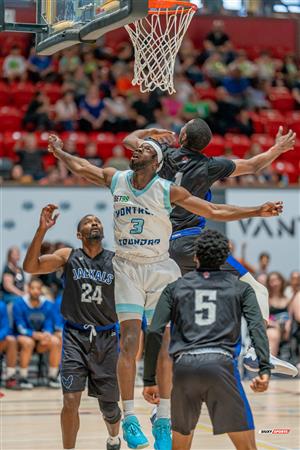
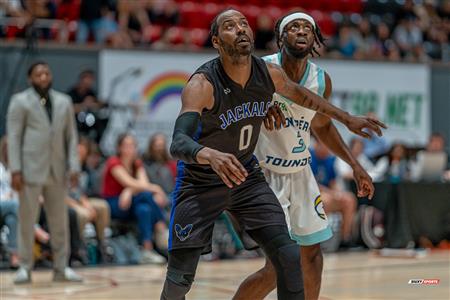
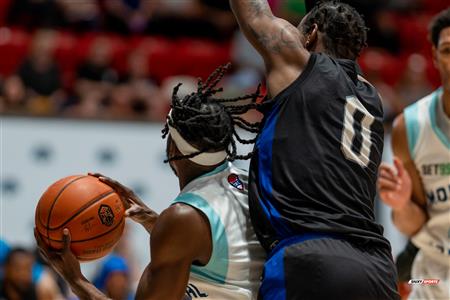
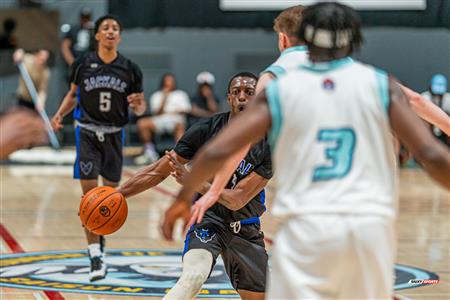
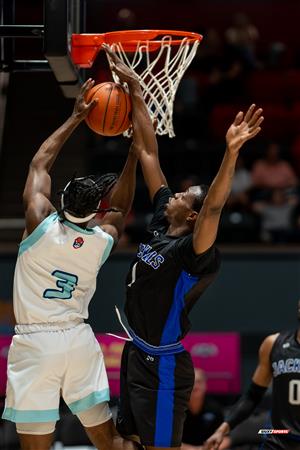
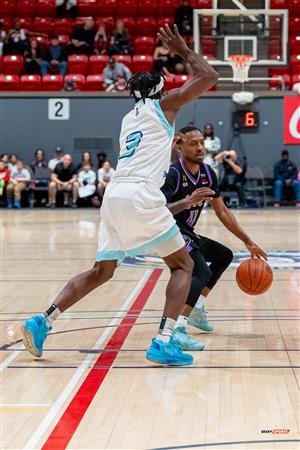
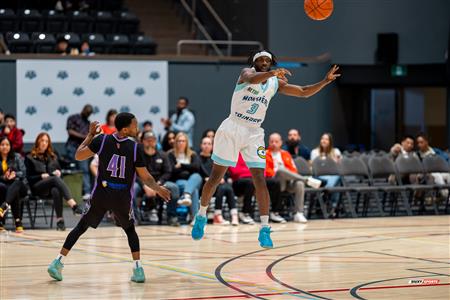
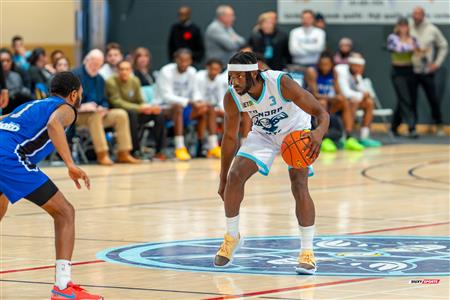
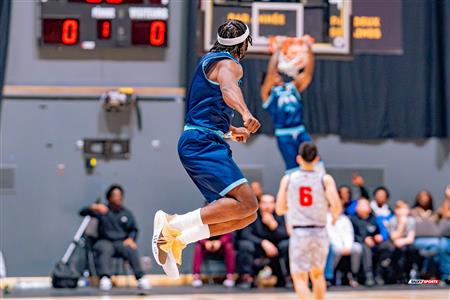
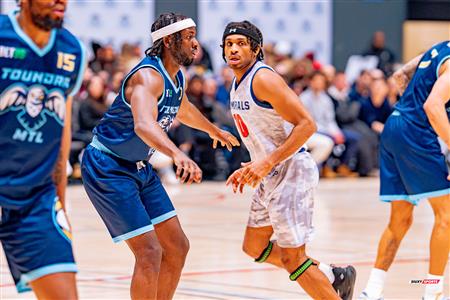
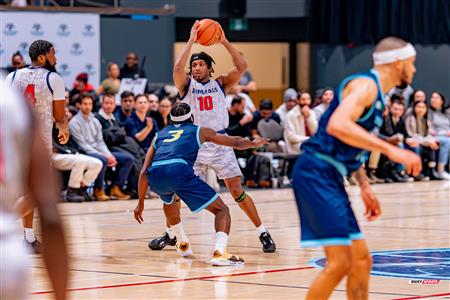
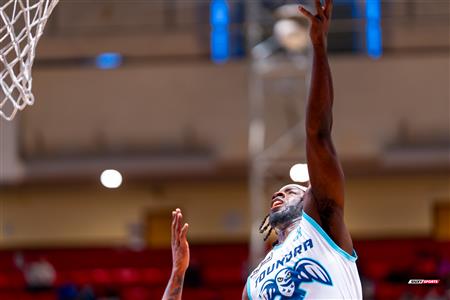
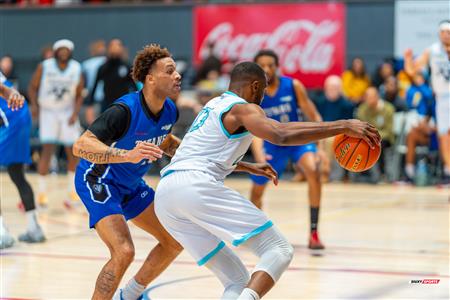
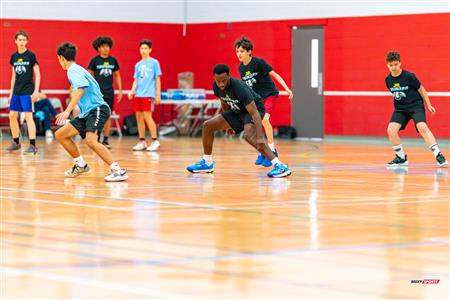
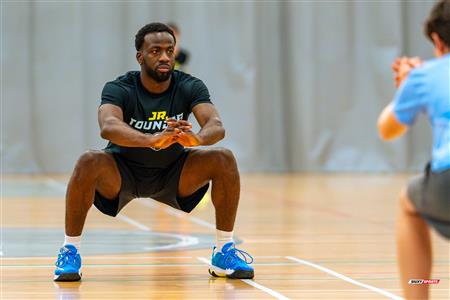
Nervens Demosthene

Nervens Demosthene
Height
m
Weight
kg
Born
'00
College
Born
Terrebonne, QC - Canada
Position
Foot
T.Goals
0
T.Assists
0
Total Games Played
0
Goals per game
Assists per game
Shot Accuracy
0%
Pass Accuracy
0%
Perfomance
0%
Dribble
0%
Stamina
0%